Import contacts from CSV or XLSX
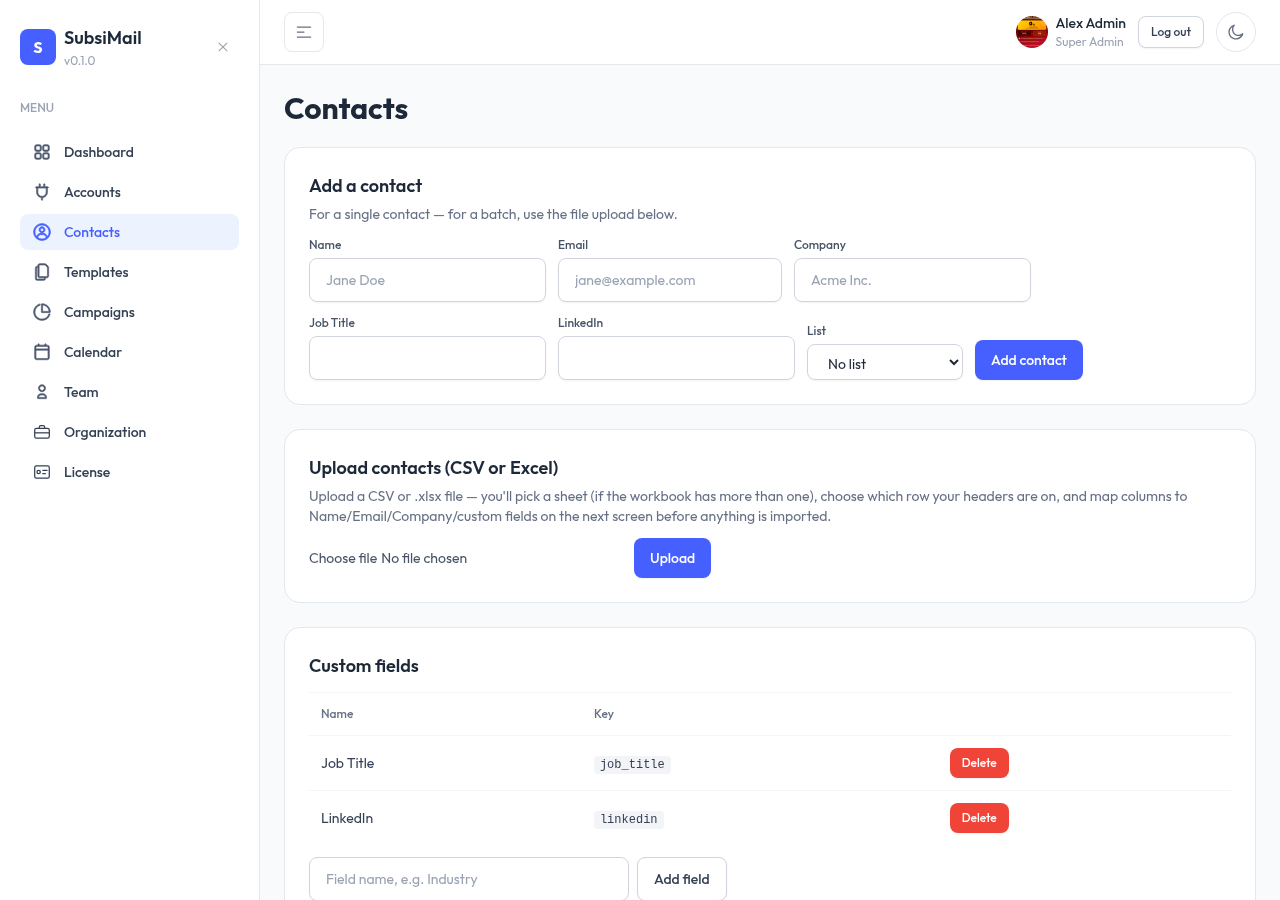
SubsiMail accepts both plain CSV and Excel (.xlsx) files, with a column-mapping step in between so your spreadsheet's headers never have to match SubsiMail's field names exactly.
1. Upload the file
Go to Contacts → Import and choose your file. For .xlsx files with multiple sheets, you'll get a sheet picker; you can also set a start row if your real header row isn't row 1 (useful for exports with a title or logo row above the data).
2. Map columns
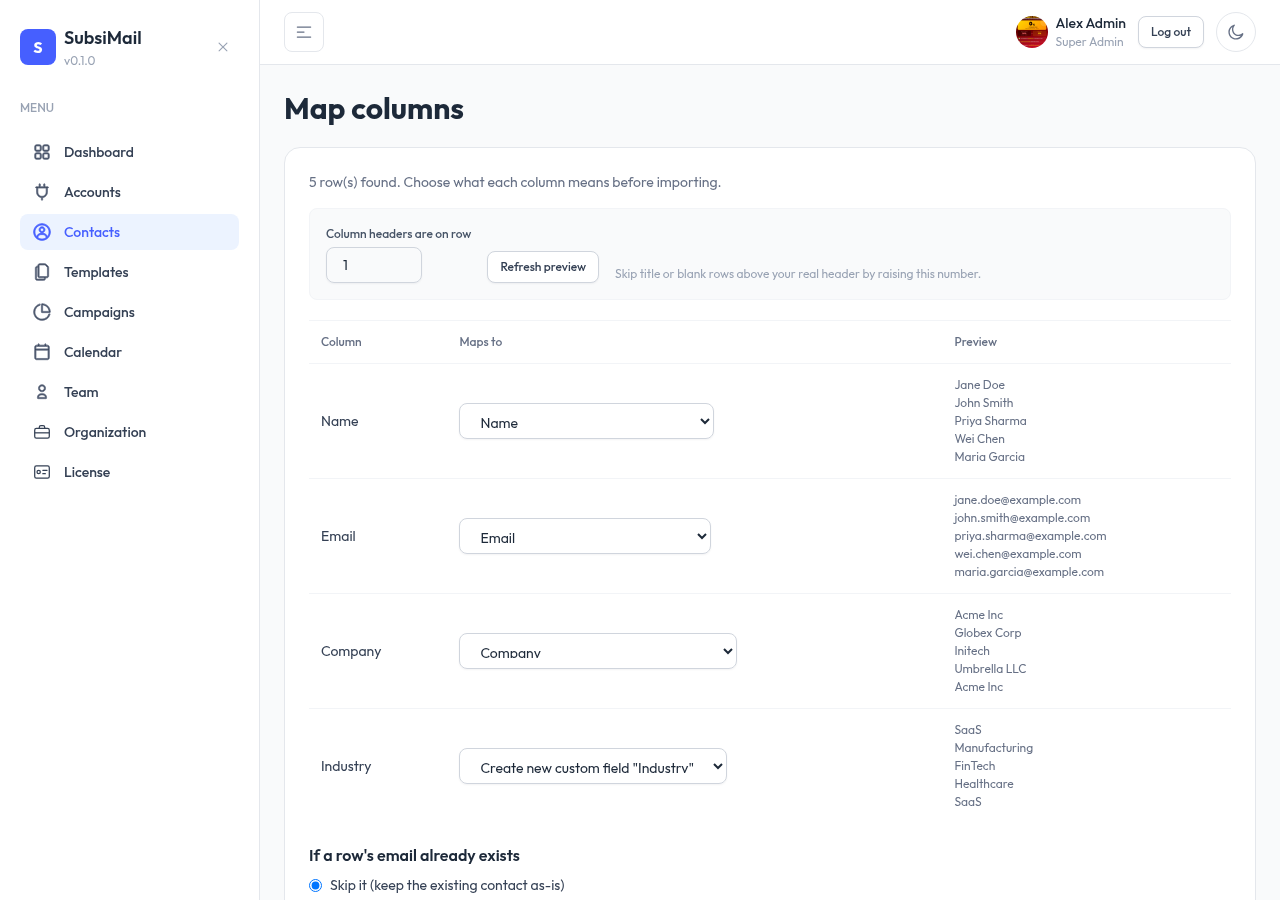
Each column in your file gets its own row on the mapping screen, with a preview of its first few values so you can confirm what you're actually looking at. For each column, choose where it goes:
- Name, Email, or Company — SubsiMail's built-in fields
- An existing custom field
- Create new field — adds a new custom field on the fly, named after the column header
- Ignore this column
SubsiMail pre-suggests a mapping based on header text (a column called "E-mail" or "Company Name" maps itself), so most imports just need a quick review rather than manual mapping from scratch.
3. Choose duplicate handling
If a row's email already exists in your contacts (case-insensitive match), choose whether to:
- Skip it, leaving the existing contact untouched, or
- Update the existing contact with the new row's values
You also choose whether imported contacts go into an existing list or a brand-new one you name on this screen.
4. Confirm
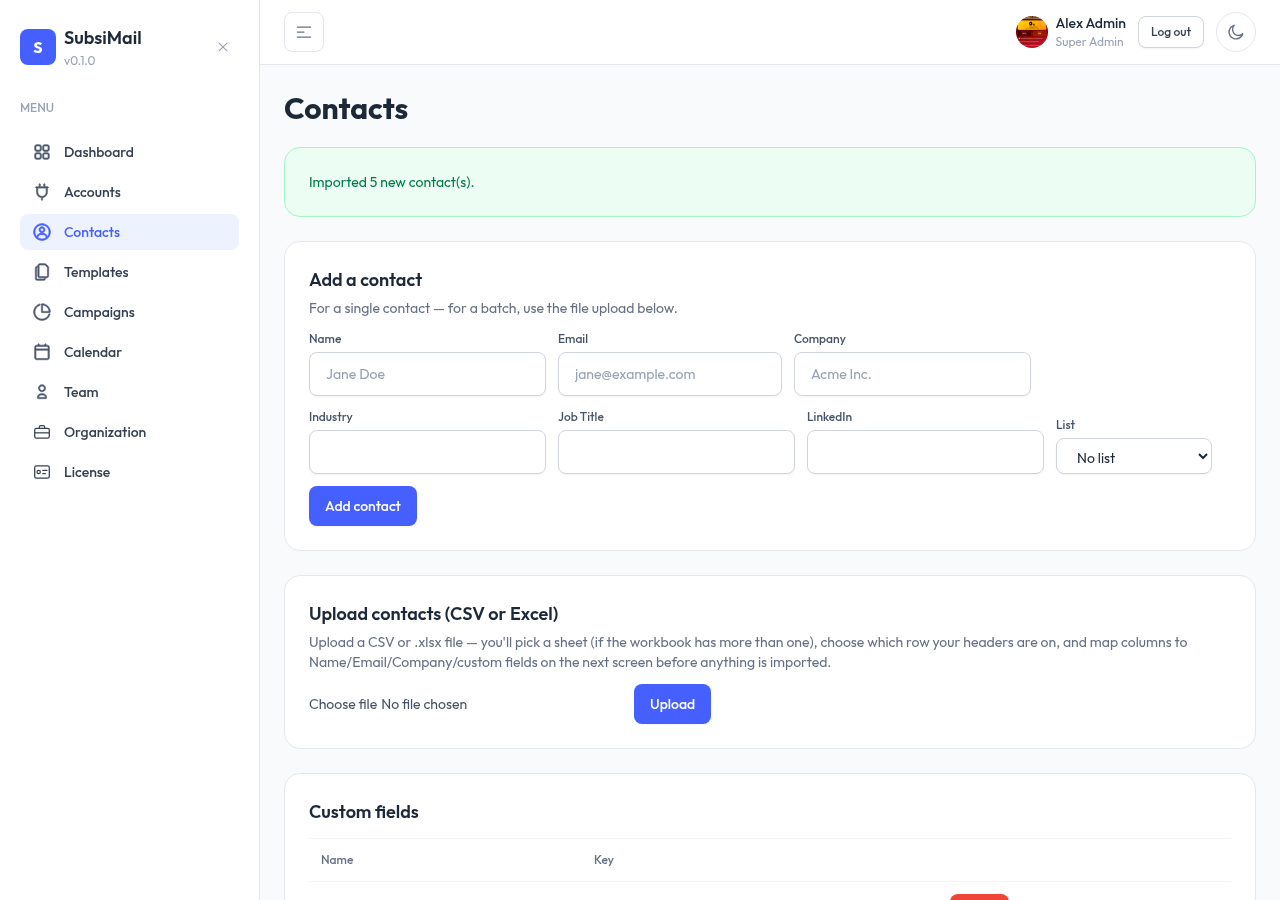
Submitting shows a summary: how many contacts were created, updated, skipped as duplicates, or skipped for missing/invalid email addresses. Any skipped row has a reason recorded against it — download them as a CSV straight from the summary banner to fix and re-import just those.
Large imports run in the background
A small file (a few thousand rows) usually finishes before the page even finishes loading, and you land straight on the summary above. A bigger one — tens or hundreds of thousands of rows — processes in the background instead, so it's never held up by a browser tab or a reverse proxy timing out:
- You land on a progress page showing rows processed, a percentage bar, and a live created/updated/duplicate/skipped breakdown, refreshing on its own every few seconds.
- Safe to close the tab. The list you're importing into shows an "Importing… N%" badge on the Contacts page for as long as the job is running — close the browser, come back a day later, and it's still there, linking straight back to the same progress page.
- If you've configured system email, you also get a completion email with the final counts, a link to the imported list, and the failed-rows download if anything was skipped — useful for a big import you don't want to babysit at all.