First-run setup
The first time SubsiMail starts with an empty database, it walks you through two screens before you can do anything else: activate your license, then create the one super-admin account for this install.
1. Activate your license
You'll land on /setup/license, with two ways to activate. Click Connect your SubsiMail account (the primary option) to log in and approve on subsimail.com and get sent straight back, activated — or paste a license token from your SubsiMail account into the box below it if you'd rather not leave the setup flow.
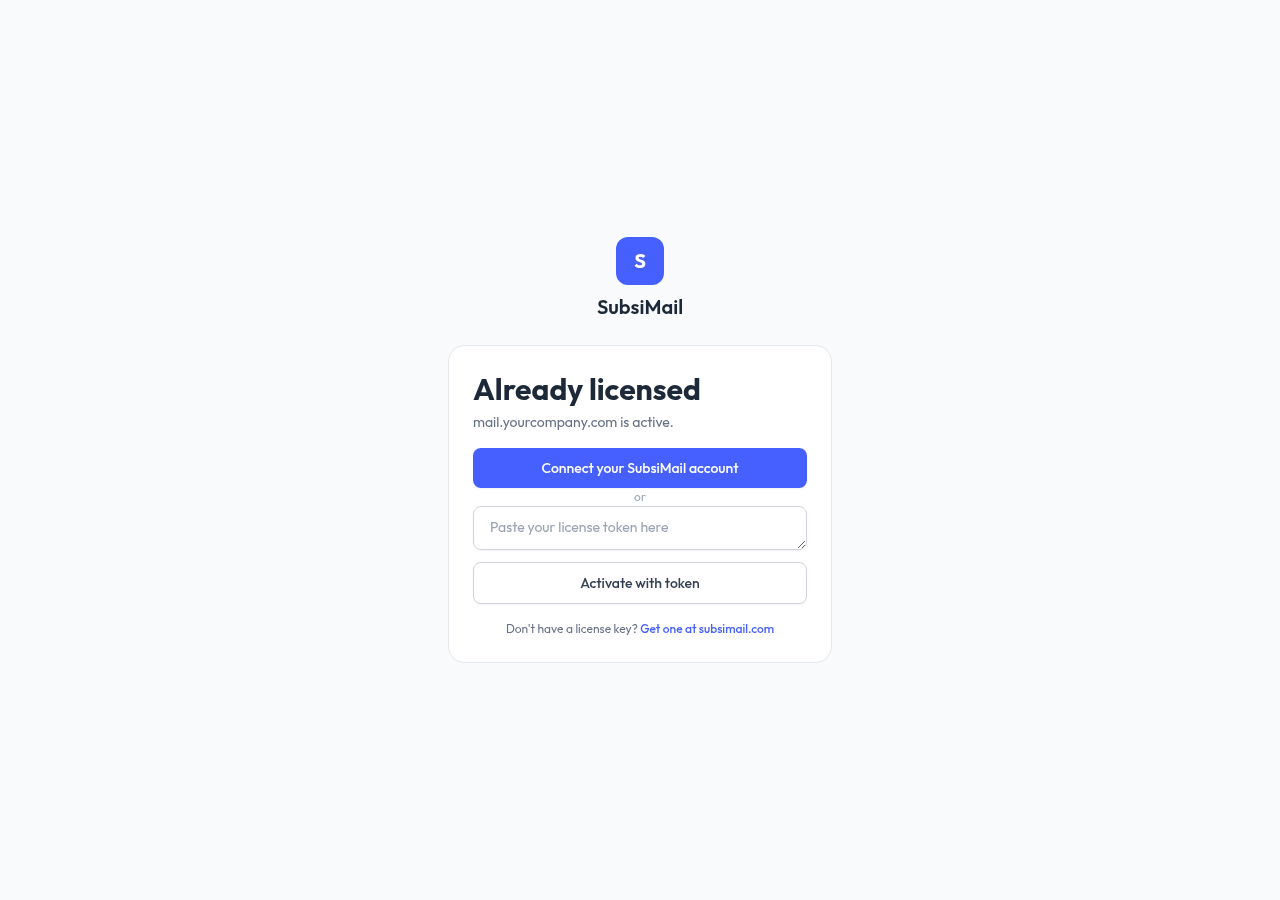
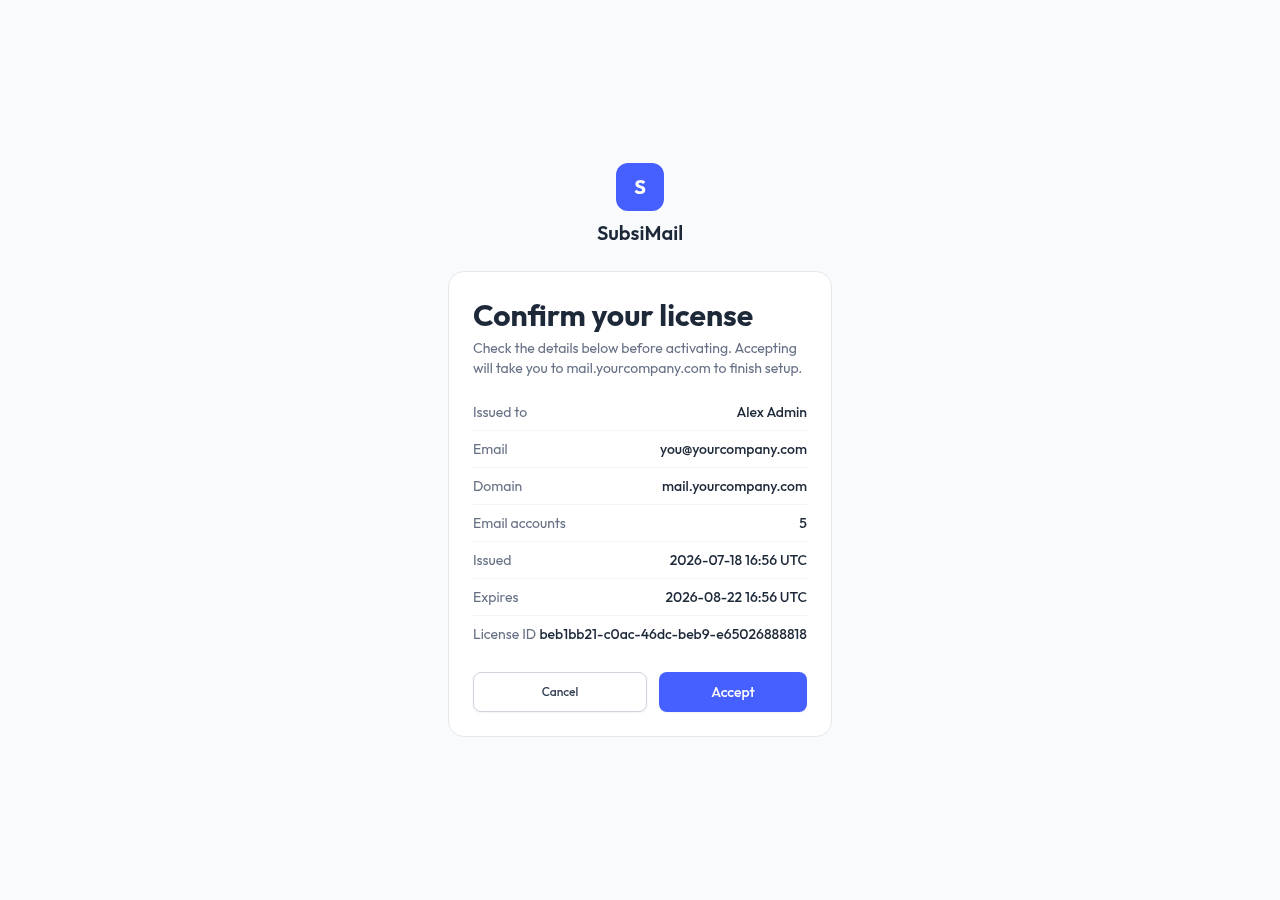
Either path ends at the same confirmation screen showing exactly what's about to be activated. The resulting token is a signed record of your domain and connected-account limit — SubsiMail checks it locally and periodically re-validates with a lightweight heartbeat call to subsimail.com. See License & domain binding for exactly what's in it, why it's tied to a domain, and the paste-token option in more detail.
2. Create the admin account
Once the license is accepted, you're moved to /setup/account to create the super admin:
- Name and Email
- Password (minimum 8 characters) + confirmation
- Organization name — shown in the app UI and in outgoing email footers
Organization domain is pre-filled from your license and locked — it can't be changed here.
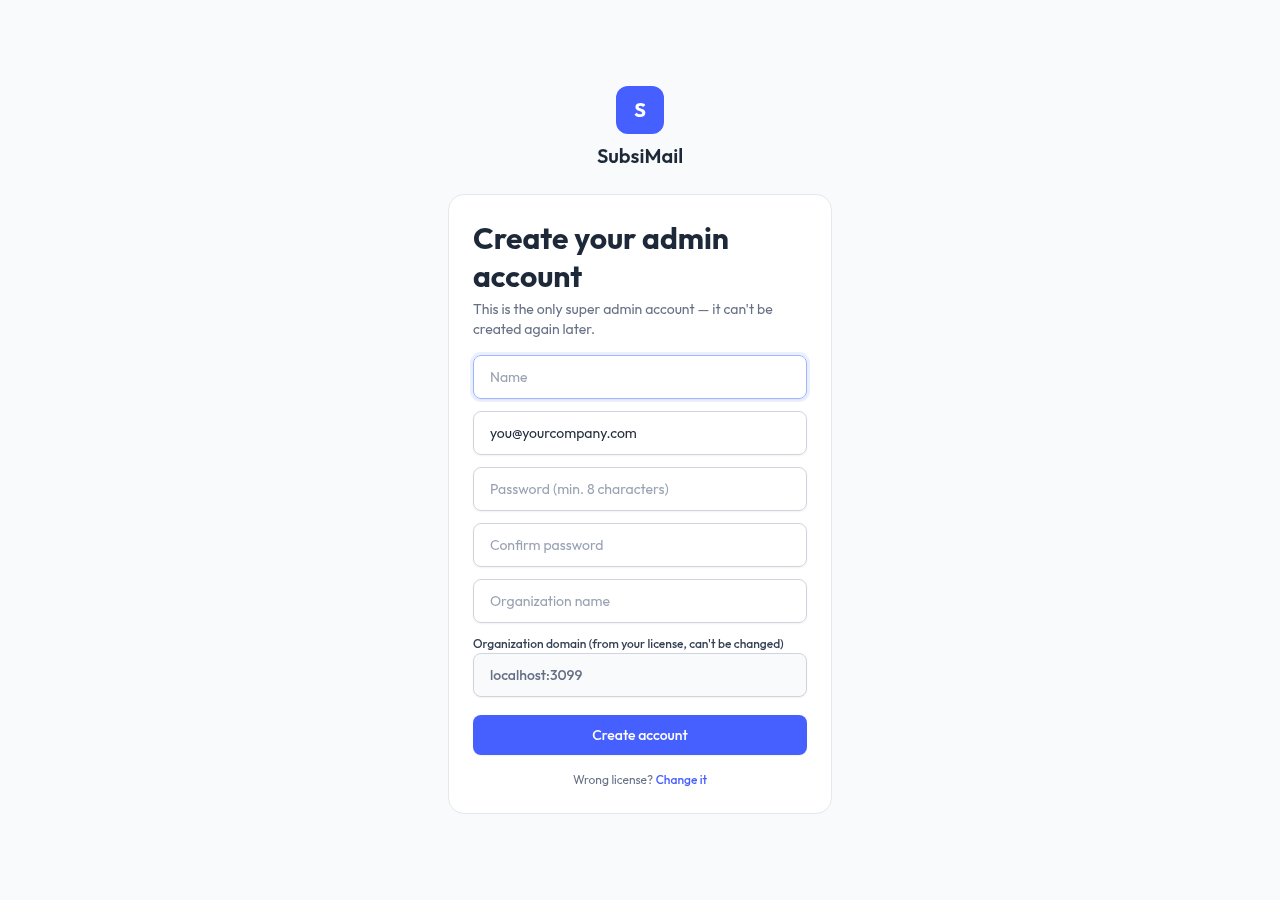
This is the only super admin account this install will ever have — it can't be created again later. If you lose access to it, recovery is a CLI command run directly on the server, not a self-service reset. Keep the password somewhere safe.
What's next
You're now logged in as super admin. From here:
- Connect your first email account (Gmail, Outlook, or SMTP)
- Invite your team and assign roles
- Import your contacts