Connect Outlook / Microsoft 365
Outlook uses OAuth through an app you register in your own Azure Active Directory (see BYOC, explained). Single-tenant apps like this one skip Microsoft's Publisher Verification requirement entirely, regardless of the mail scopes requested.
New in 8: a workspace can hold several Microsoft apps, so you can connect Outlook accounts from different tenants; each connected account remembers which app it came through. OAuth is the main path for Outlook, since Microsoft is phasing out basic-auth SMTP.
1. Register an app in Azure
- Go to Azure Portal → Azure Active Directory → App registrations → New registration
- Name it anything (e.g. "SubsiMail")
- Under Supported account types, choose Accounts in this organizational directory only (Single tenant)
- Register it
Screenshots of Azure's own portal age fast as Microsoft redesigns it — their current, maintained walkthrough for this exact step: Register an application.
On the app's overview page, note down the Application (client) ID and the Directory (tenant) ID — you'll need both.
2. Add a redirect URI
- In the app: Authentication → Add a platform → Web
- Redirect URI:
(use your actual SubsiMail domain)
https://your-domain.com/oauth/outlook/callback
3. Add API permissions
- API permissions → Add a permission → Microsoft Graph → Delegated permissions
- Add
Mail.SendandMail.Read(plus the defaultUser.Read, already present)
Microsoft's own walkthrough for adding Mail.Send/Mail.Read permissions to an app registration: OAuth authentication for Microsoft 365 mail (see "Add API permissions").
Mail.Read is scoped to the inbox specifically, used only for stop-on-reply detection — it's read separately from Sent Items so a reply-to-yourself test doesn't get misread as an actual reply.
4. Create a client secret
- Certificates & secrets → New client secret
- Copy the secret's value immediately — Azure only shows it once
Azure only shows the secret's value once, immediately after creation — copy it right away. See Microsoft's own walkthrough: OAuth authentication for Microsoft 365 mail (the "Certificate & secrets" step).
5. Connect in SubsiMail
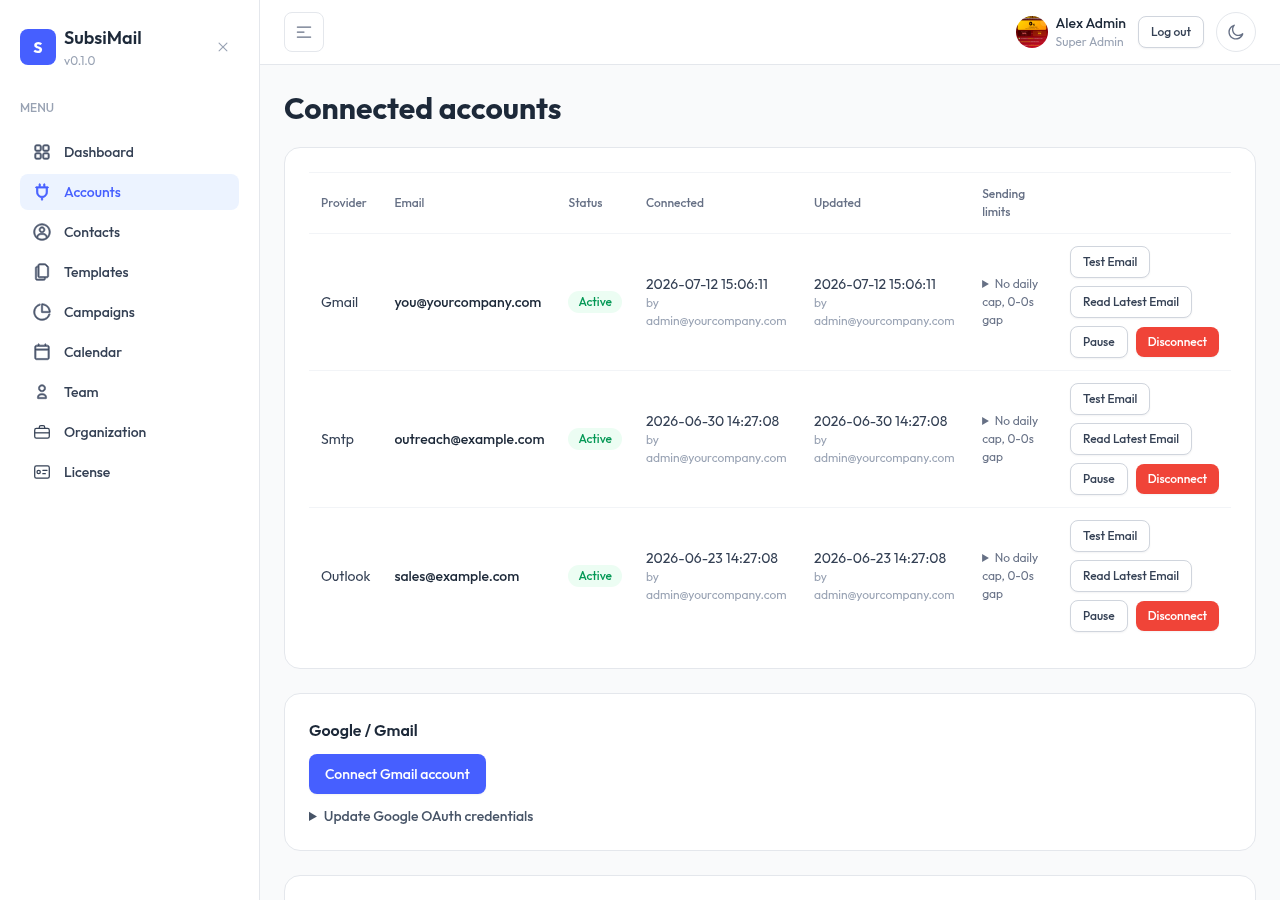
- In SubsiMail, go to Accounts
- Under Outlook, paste the Directory (tenant) ID, Application (client) ID, and Client Secret, then save
- Click Connect Outlook account — you'll be sent to Microsoft's sign-in/consent screen, then back to SubsiMail